Portrait mode artificially blurs out the background of an image to make it look... “better”. Turns out the reason this is done artificially is physics more than anything else.
Before we start: I am not a lens expert. Nor am I physicist or an optician. I tried my best to do my due diligence and be upfront when I’m simplifying things, but I might still have gotten things wrong. If you find something, please give me a shout.
Alright, I will admit: The titular question is not actually the question I had when I started writing this article. Originally, I wanted to understand why smaller apertures make your image sharper. Later I wanted to figure out if the significantly bigger sensor in the Ricoh GR III will get me better background blur than the Canon PowerShot G7 X Mark III. It turns out that both these questions have closely related answers and they also explain why the background blur that recently got added to most camera phones is fake.
Portrait mode
Having a blurry background is a common technique in photography to make the viewer focus on the subject and not get distracted by elements in the background. Photographers calls this a “shallow depth of field”, because the field (i.e. area) that is in focus is shallow and creates “separation” between the foreground subject and background elements.

If you look up how to achieve this shallow depth of field, most photography resources will say “use a wide-open aperture” and “use a long lens”. And that is somewhat true, but it’s more nuanced than that.
Be warned! Photography terminology is a mess and correlation established in experiments is often mistaken for causation. One of my goals for this article is to clear up as much as possible.
Recently, camera phones have gotten a new feature called “portrait mode”, that adds this background blur to a photo. It’s called portrait mode because that background blur is especially popular for portraits. However, the phone’s background blur is fake — it’s added during post-processing and often you can even remove or adjust the background blur after the fact. Once you take a closer look, you can often see the blurriness setting in quite abruptly or other weird artifacts.
Why do phones do that? Can’t they just do it right? To answer that, we have to go back to school and catch up on some basic optics!
Optics
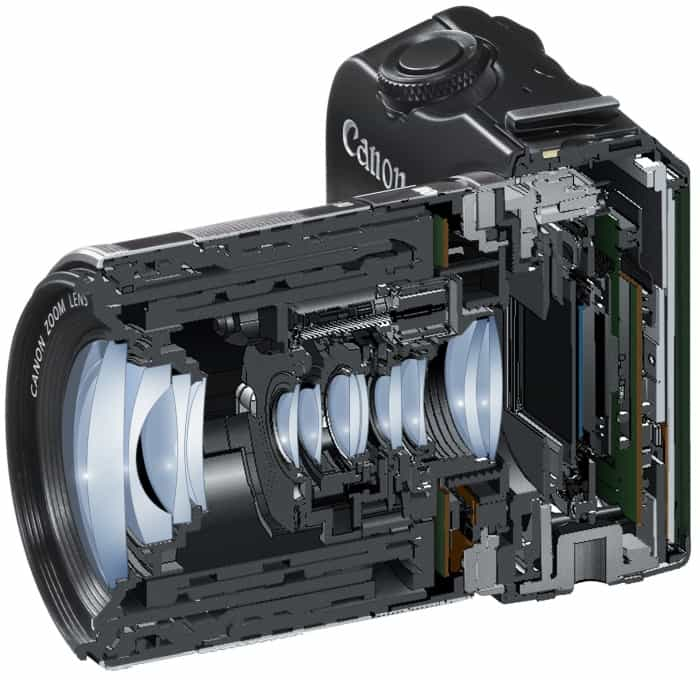
In the earlier days of photography, lenses were simple. A single glass lens and a shutter. Today’s lenses, on the other hand, are quite complicated. They fulfil the same purpose based on the same underlying principles, but with a whole bunch of benefits over their primitive counterparts.
To keep this article somewhat manageable, I will focus on simple lenses. Not only that, but I will assume that we are working with “perfect” lenses throughout this article. They don’t have any imperfection, any chromatic aberration (i.e. they don’t bend different wave lengths differently) and they are “thin” lenses (i.e. they can be modeled with simplified formulas). I will also only look at spherical, bi-convex lenses. That means the lenses are convex (a belly-like shape) on both sides and their curvature is that of a sphere. Contemporary camera lenses combine all kinds of lenses (concave, convex-concave, aspheric, etc).
Lenses
The two most important parameters of a lens for this excursion is its focal length and diameter . The diameter is literally that, giving you the size of the piece of glass. The focal length describes the distance from the center of the lens to the focal point, which is also the center of the circle (or sphere, rather) that gives the lens its curvature. The smaller the focal length, the more the light rays get bent towards the focal point when they pass through the lens. The bigger the focal length , the less they get bent. For thin lenses, the rule is that rays that enter the lens parallel to the lens axis will intersect the focal point.
(Orange points are interactive!)
Tracing the rays in reverse yields another rule: Rays that enter the lens by intersecting the focal point will exit the lens parallel to the lens axis. These two rules are very powerful and will allow us to derive pretty much everything we need to answer all our questions.
Thicc: You’ll notice that lenses with a short focal length are anything but thin. I’ll still pretend that they fall into the “thin lens” category for the remainder of this article.
Light in real life is barely ever parallel, but rather radiating out from a point into all directions. More specifically, apart from a few notable exceptions (like mirrors), every material reflects the light that it is hit by evenly into all directions on every point of its surface. This allows us to focus on scenarios with one individual point light source, knowing that any real scene is just a collection of many such points.
We have a point that sends light rays into all directions and we put it on one side of our lens. Considering that people were able to take pictures with these simple lenses, there has to be a place on the other side of the lens where all the light rays get focused back into a single point. While the light from our point light source will be hitting every part of the lens, we only need to care about two specific light rays to figure this out: The one light ray that is parallel to the lens axis, and the other ray that intersects the focal point. We know these rays will behave according to our two rules from above and they will (most likely) also intersect on the other side of the lens. Wherever these two lines intersect, all other rays will intersect as well.
The point on the left is often just called “object”, while point on the right is called the “image”. From this geometric construction of where the image will be, we can derive a nice formula describing the relationship between the object’s distance and the image’s distance from the center of the lens:
The “thin lens equation” describes the relationship between the object’s distance , the image’s distance and the lens’ focal length .
Photography
You’ll notice that if you move the object point parallel to the lens plane, the image point will also move parallel to the lens plane, although in the opposite direction. This tells us two things: Firstly, the image is upside down. What is above the lens axis on one side of the lens, is below the lens axis on the other. Secondly, and more importantly, if a bunch of objects form a parallel to the lens plane, their images will also form a parallel to the lens plane. So instead of talking about individual points, we can talk about the “image plane” (which we will end up calling the “sensor plane”) and the “focal plane”. We have now entered the territory of photography.
The image plane & the focal plane
To take a picture we have to have something that... takes the picture. Yes. Very good explanation. In analog photography, that is the film or photo paper. In digital cameras — and for the remainder of this article — it’s the sensor. The distance of the sensor to the lens determines which part of the world is “in focus”.
This diagram lets us discover the following: The focal length is directly related to the angle of view. A longer focal length has a smaller angle of view, effectively creating a zoomed-in picture. Similarly, the same lens on a larger sensor will yield a larger angle of view. More specifically, the relationship between sensor size, focal length and angle of view can be described as follows:
The formula describing the relationship between angle of view , the sensor size and the focal length .
Focusing
In the diagram above, you can move the lens and change the lens’ focal length to see how it affects the focal plane. However in photography you don’t move the lens and see where your focus plane ends up. You have something that you want to focus on, and want to position your lens accordingly. If we know the distance between our sensor plane and our desired focal plane, we can use the thin lens equation to figure where to place the lens:
Apologies for skipping the math there in the middle, but it’s really just a bunch of transformations until you can use the quadratic formula. The majority of cameras don’t use this formula, of course, as they can’t measure the distance to the target, but use phase detection or contrast detection instead. But something interesting can be derived from the formula: For the result to even exist, the expression in the square root must be positive.
That means, to be able to focus on a subject with lens with focal lens , the subject needs to be at least four times the focal length away from the sensor.
Bokeh
Now that we know how to focus, determine the focal plane and even determine lens position with a given focal plane, we can take a look what happens when something is out of focus. Most of us have seen the phenomenon of big circular light spots in the background. These circles are often referred to as “Bokeh”. Bokeh is Japanese for “blur”, and technically refers to anything that is out of focus, but instead it is often used to refer to the look of out-of-focus point lights specifically.

Screenshot taken from season 5 episode 8 of “Suits”.
To figure out how big the circle will be, we have to separate our distance to the focal plane from the distance to our light source. In most of these setups, the focal plane is fairly close to the sensor, while the light source is significantly further away. We can now figure out where the lens needs to located to set the right focus, and which point the light from the light source will be focused on.
The further away the light source is from the focus plane, the bigger the bokeh circle on the sensor will be. Let’s try and get some hard numbers.
Deriving a formula
Looking at the rays on the left side of lens in diagram above, we can use the law of similar triangles (or more specifically the intercept theorem) to establish the following relationship between the lens aperture and the bokeh circle size :
To get the values for and we can use the focusing equation from above:
Admittedly, this formula isn’t simple, intuitive or, honestly, even that helpful. But let’s look at this in an extreme configuration: Let’s move the focal plane as close as possible to the sensor () and move the light source infinitely far away (). In this scenario, the formula drastically simplifies (provided you can calculate the limit, which I couldn’t without help):
I found this fascinating. In the extreme case, the focal length actually has no influence over the size of the bokeh circles, despite photographers saying to “use a long lens”. Lens size alone dictates how big the circle on the sensor is. So why do photography resources recommend a long lens to increase bokeh? Surely they can’t all be wrong?
Same-picture comparison
Focal length doesn’t matter in that extreme case, but that is not really an interesting comparison, as the closest possible focus distance changes with the lens’ focal length. So as a photographer, that’d mean we are taking different pictures.
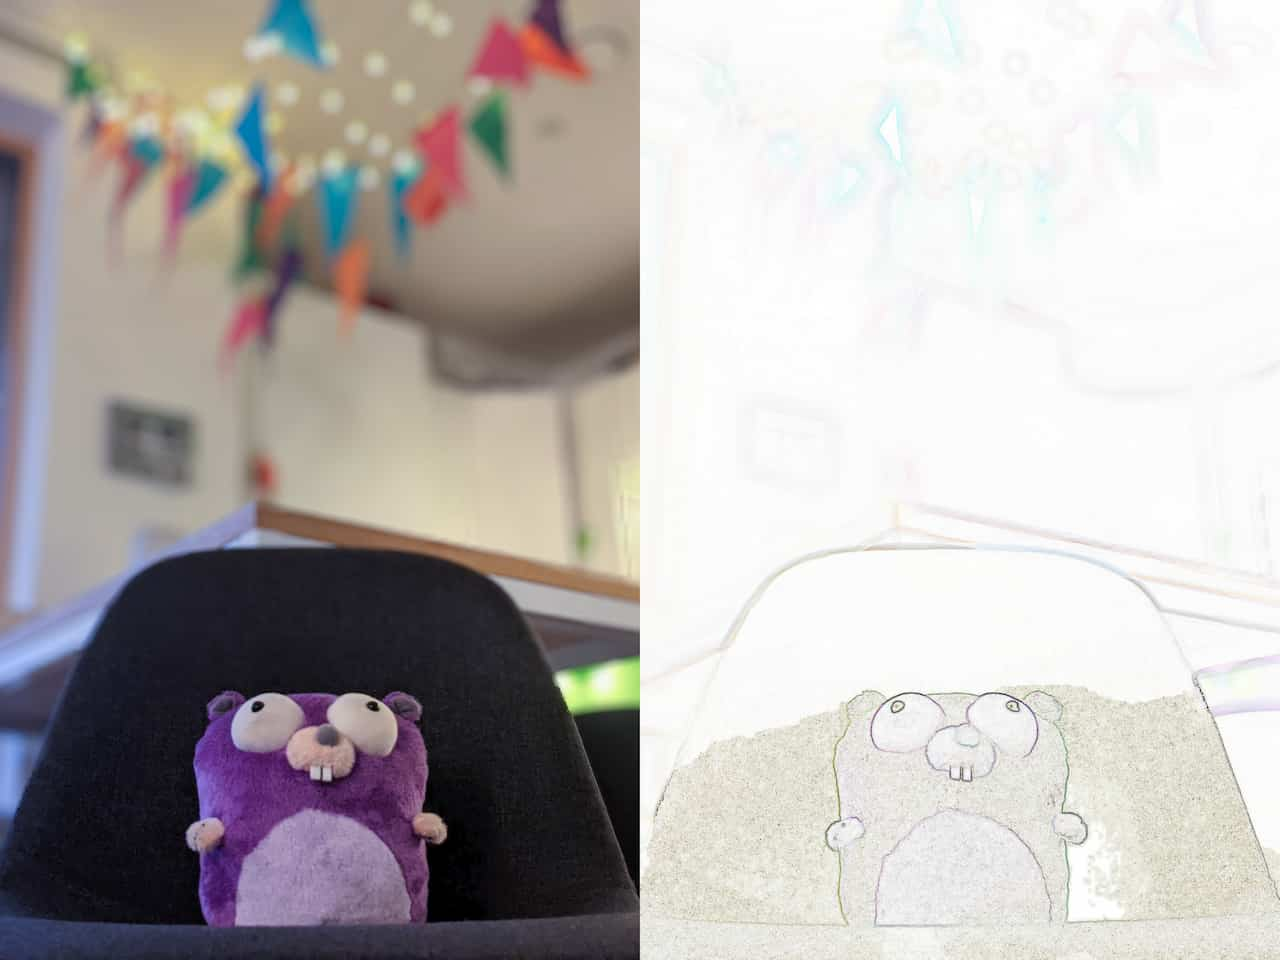
Let’s try and keep the picture constant, and compare the background blur then:
Right: Photo taken with my Canon EOS R, with a zoom lens set to 27mm.
(Images cropped to match aspect ratio, slight color grading.)
I managed to capture the same parts of the scene with both my Pixel 5 and my digital camera, meaning I managed to create the same angle of view at the same position. It is clearly visible that the amount of background blur is significantly different. The only things that changed in between shots are sensor size, lens diameter and focal length. Focal length, however, is not variable as it is directly dependent on sensor size since we want to keep the angle of view fixed. So is the sensor size responsible for background blur, the lens diameter, or both?
We know from earlier that making the sensor smaller will also decrease the angle of view. Since we want to keep angle of view constant, we need to correct for smaller sensor size with a shorter focal length, which we know results in a smaller bokeh circle on the sensor. But wait, the sensor is also smaller, so maybe it covers the same percentage of the sensor as before, yielding the exact same image? It’s hard to tell from the diagram, so I guess the only way to tell is use that horrible formula from earlier. But I’ll have Julia do the work for me:

That means that no matter the scenario, that you will be able to take the same picture with any sensor size, as long as you keep angle of view and lens diameter constant. But this somewhat goes against everything I found on the internet, where the vast majority of articles claim that smaller sensors have less background blur.
The culprits are -Numbers.
Aperture
The diagram above shows that making the lens diameter smaller will also shrink bokeh circle on the sensor. A very small circle, however, is humanly indistinguishable from a point. Or to interpret that another way: Up until a certain circle size, a human can’t tell the difference between something being perfectly in focus and slightly out of focus. That means that there is a bit of leeway around the focal plane to either side which is called the focus area. Everything within that focus area will be perceived as in-focus by the human eye and is “acceptably sharp”. How much leeway depends on how fast a point grows into a circle the further away it is from the focal plane, and that growth is determined by lens diameter.
Circle of confusion: The biggest circle that is perceived as a point by a human is called the circle of confusion (CoC), and it plays a central role in calculating the focus area. The diameter of the CoC depends on your eyesight, obviously, but also how big an image is displayed and from what distance you are looking at it. It’s confusing that many resources on the internet list a single CoC diameter for any given sensor size, like listing 0.029mm for a full frame sensor. These are old values, based on printing the picture in a specific size (~) and looking at it from a specific distance (~) with 20/20 vision.
I won’t go into this with more detail, but these numbers seem unfit for the digital age, where we crop and we zoom after taking the picture. Something that looks in-focus at Instagram-size, can look completely out of focus once zoomed in. If you want to make sure something in focus even after zooming in, your circle of confusion is the size of a single pixel on the sensor. Any bokeh circle that is at most the size of a pixel will still be captured as a single pixel, and a pixel is a pixel even if you zoom in. This, however, has implications. I did the math to compare how big the focus area is with traditional CoCs and the pixel-based CoC and the pixel-based CoC leaves you very little room for error as a photographer. For example, in a portrait setting the traditional CoC yields a 1.5m wide focus area, which shrinks to just ~28cm with the pixel-based CoC.
In summary that means that a smaller lens creates a bigger focus area. But, alas, lenses are made of glass and can’t just change their size, now can they?
f-stops
The fact that smaller lens diameters create sharper images has been known since the age of pinhole cameras, which is why photographers came up with mechanisms to adjust a lens’ size. Most lenses do this via an iris made of a bunch of metal blades.
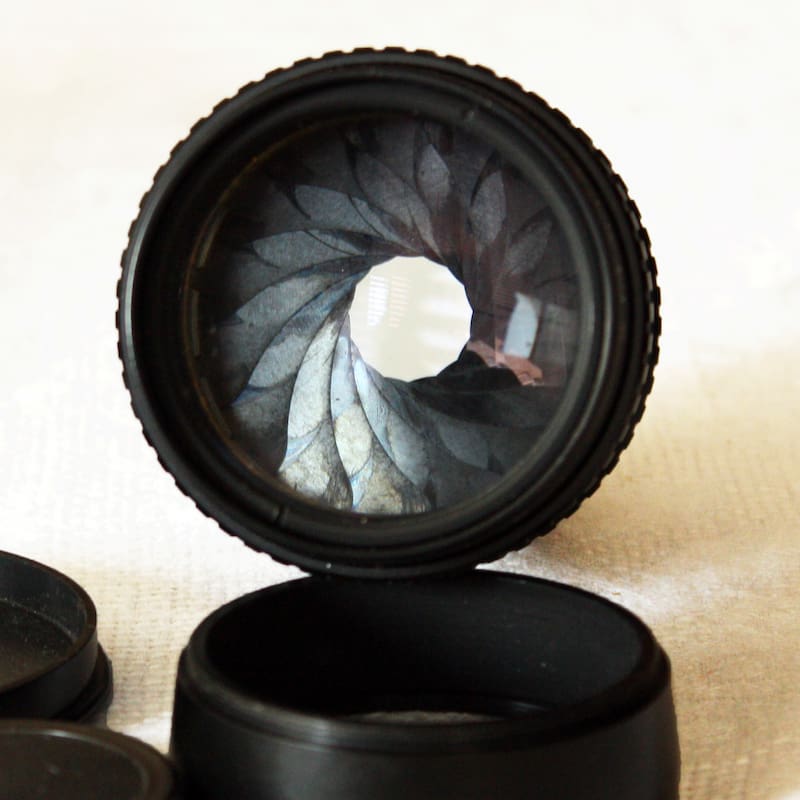
The iris of a lens, consisting of 16 blades.
However, the lens diameter is rarely talked about directly in photography. Instead, they talk about the aperture, which is given as a -Number. If you need to refer to the actual opening of the lens or iris through which light can pass, you talk about the “absolute aperture”.
The -Number is called -Number because it describes the iris opening as a fraction of the focal length . For example, a 50mm lens set to means the absolute aperture is . The reason that photographers use -Numbers is that two lenses will allow the same amount of light to hit the film sensor, when they are set to the same -Number — regardless of their focal lengths.
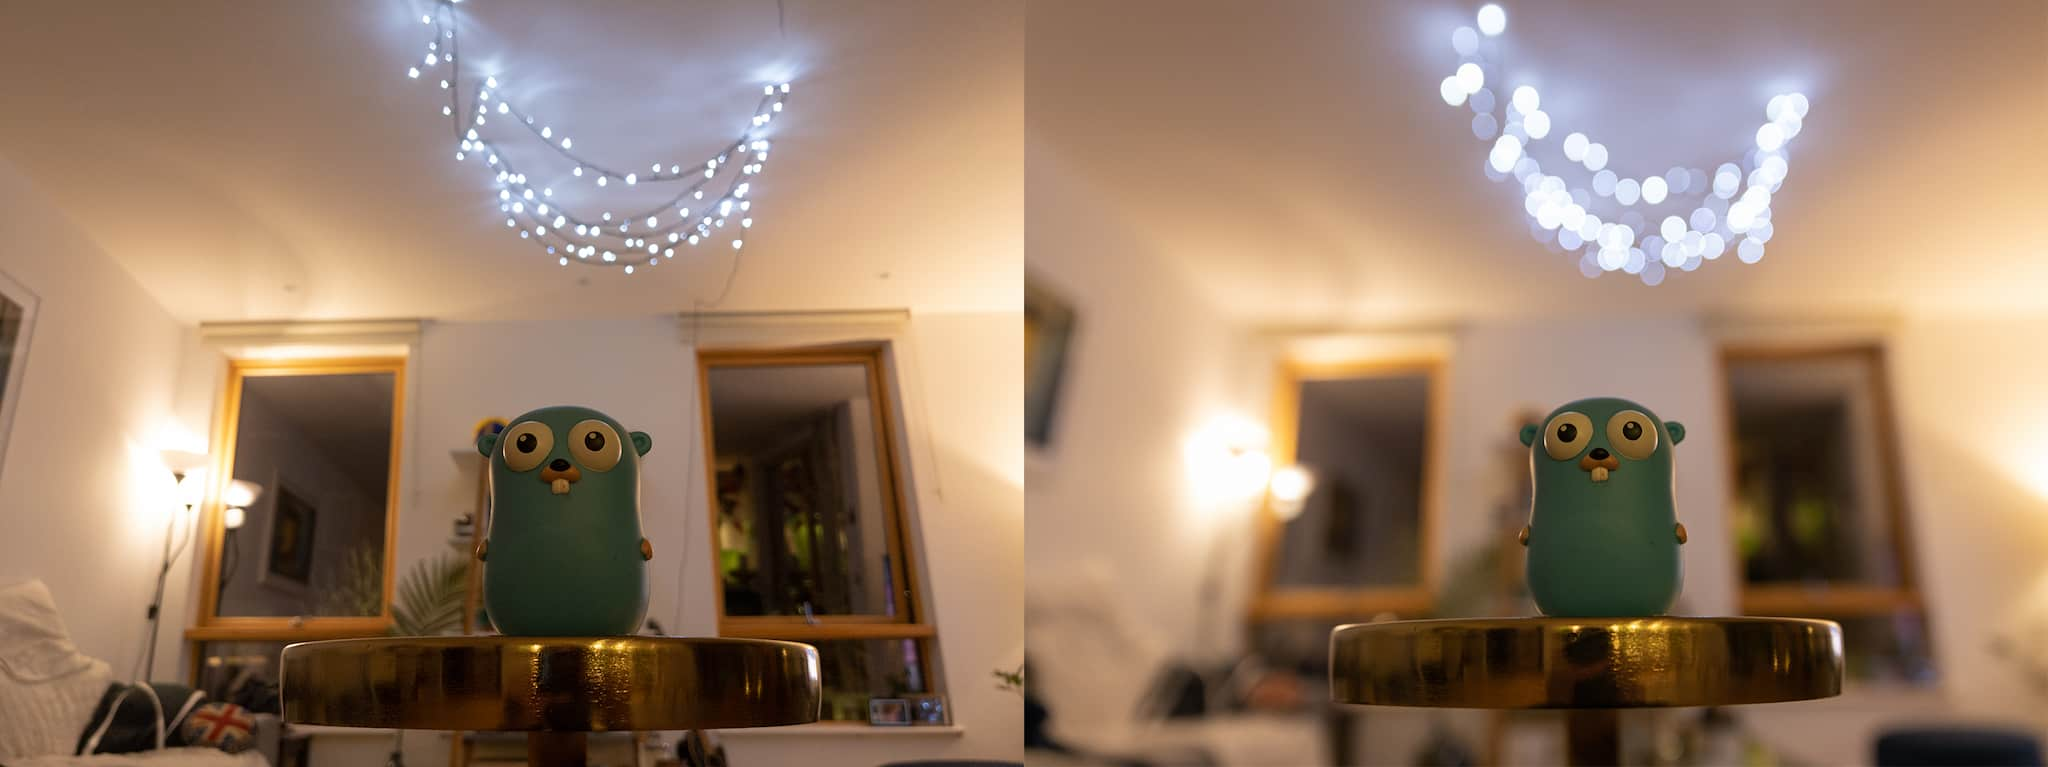
That all was just to say that photographers use -Numbers to compare lens configurations. Most articles that were trying to give the “definitive answer” on whether sensor size affects depth of field, did so by taking photos with different sensors and equivalent lenses at the same -Number. Let’s redo the graph above with a constant -Number instead of a constant lens diameter, so we can replicate the results from those articles:

Keeping the -Number constant instead of the lens diameter, gives an outcome in line with most articles on the web.
If we keep the -Number constant, bokeh drastically increases with bigger sensors. However, we know that it’s not the sensor that directly causes this effect — the chain of causality is more complex than that: A bigger sensor requires a longer focal length to keep the same field of view. A longer focal length has a bigger aperture given the same -Number. A bigger aperture makes bokeh circles grow quicker.
This explains why in the comparison photo above my digital camera has so much more background blur. There is no way my phone’s tiny camera opening can compete with the diameter of the big lens. If want to make sure that two cameras take a picture with the same amount of background blur, we need to keep the absolute aperture constant. The absolute aperture is the focal length divided by the -Number , and the focal length is dependent on the sensor size .
To say it with words: To keep the absolute apertures (and therefore the resulting bokeh) constant, the ratio of the sensor sizes has to be the same as the ratio of the -Numbers.
Crop factor: If you are a photographer, this might remind you of crop factors, and you’d be correct! Instead of taking the ratio of the sensor sizes, you can also take the ratio of the sensors’ respective crop factors!
Phones with lots of bokeh?
So what kind of lens would my Pixel 5 need to achieve the same background blur as my digital camera? For that we need to know what kind of lens the Pixel 5 has. Luckily, this data is embedded in the EXIF data of the images and can be extracted using identify from ImageMagick:
$ identify -format 'f=%[EXIF:FocalLength] A=%[EXIF:FNumber]' cam_image.jpg
f=27/1 A=28/10

$ identify -format 'f=%[EXIF:FocalLength] A=%[EXIF:FNumber]' pixel5_image.jpg
f=4380/1000 A=173/100
This says that my digital camera image was taken with and (). The Pixel 5 used and ().
The EXIF data doesn’t contain any data about the sensor size, but since we have empirically determined the angle of view (it’s the equivalent of a lens on a full-frame sensor), we can calculate the sensor size ourselves. Or, you know, we can look up that the Pixel 5 has a 1/2.55" sensor, which measures , making the full-frame sensor about 14 times larger than the phone’s sensor.
I lied: I am not using portrait mode for this experiment because the Pixel 5’s portrait mode crops in, effectively zooming in, emulating a longer focal length. Longer focal lenses are typically deemed more flattering for portraits as they have less perspective distortion. Whether this is a technical limitation or a technique to force people to literally take a step back when taking pictures in portrait mode is unclear to me.
The aperture on the digital camera is almost 4 times as large as the phones aperture. For the Pixel 5 to achieve the same amount of background blur as my digital camera, the Pixel 5 would have to have the same absolute aperture of .
Is such a phone lens possible? I am not sure. In my experience, the bigger the aperture on a lens, the more expensive they get. Any aperture with an -Number below 1 is virtually unheard of, although they do exist:
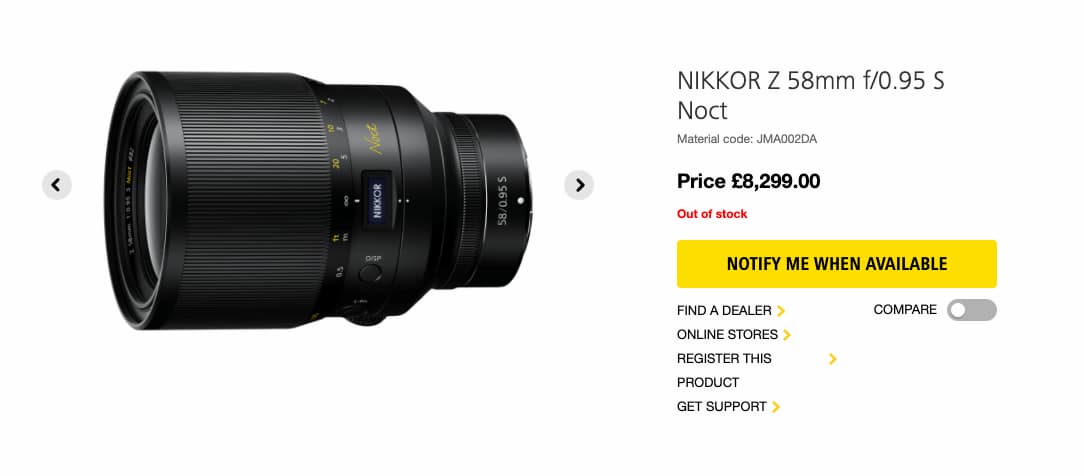
Just in terms of size, a phone lens with a diameter of seems practical, but big lenses with short focal length are more bulgy and that could end up being weird on the back of a phone. Also, as I said, I am no expert and I am sure the real challenges of creating a mobile phone lens appear outside of writing an article in the ivory tower of perfect lenses and ignoring the real world physics.
The answers to all my questions
We now have all the tools to answer the questions I asked at the beginning of the article.
- Why does a smaller aperture increase sharpness? It makes bokeh circles grow less quickly when a subject is moving away from the focal plane.
- Does a smaller sensor cause less background blur? Technically, no. Practically, because smaller sensors are used with lenses with shorter focal lengths, and shorter focal lengths use smaller apertures to achieve the same -Number, yes.
- Why do phones fake the background blur? Phones have very small sensors to save space, which means they have small focal lengths and small apertures, yielding a big focus area. This makes it physically impossible to have natural background blur, at least at the level of a full-frame camera.
I probably ignored a huge amount of factors that come into play once you are not working through the physics on a purely theoretical level. However, this still allowed me to get a deeper understanding of lens optics and find sufficient answers to all my questions.
Bonus content: Tilt-Shift lenses
Throughout this entire article, we have assumed that the lens plane and the sensor plane are parallel to each other. Having those two planes not be parallel used to be a much more common ability, especially with field cameras. Most modern cameras can’t tilt their lenses as it introduces a lot of mechanical and optical complexity. Some lenses, however, are specifically engineered to have this ability, and are aptly named “tilt-shift lenses” as you can tilt and shift the lens. This ability is useful as it allows you to remove perspective distortion and move the vanishing point around before taking the image — an operation that would require you throw away precious pixels in post-processing.
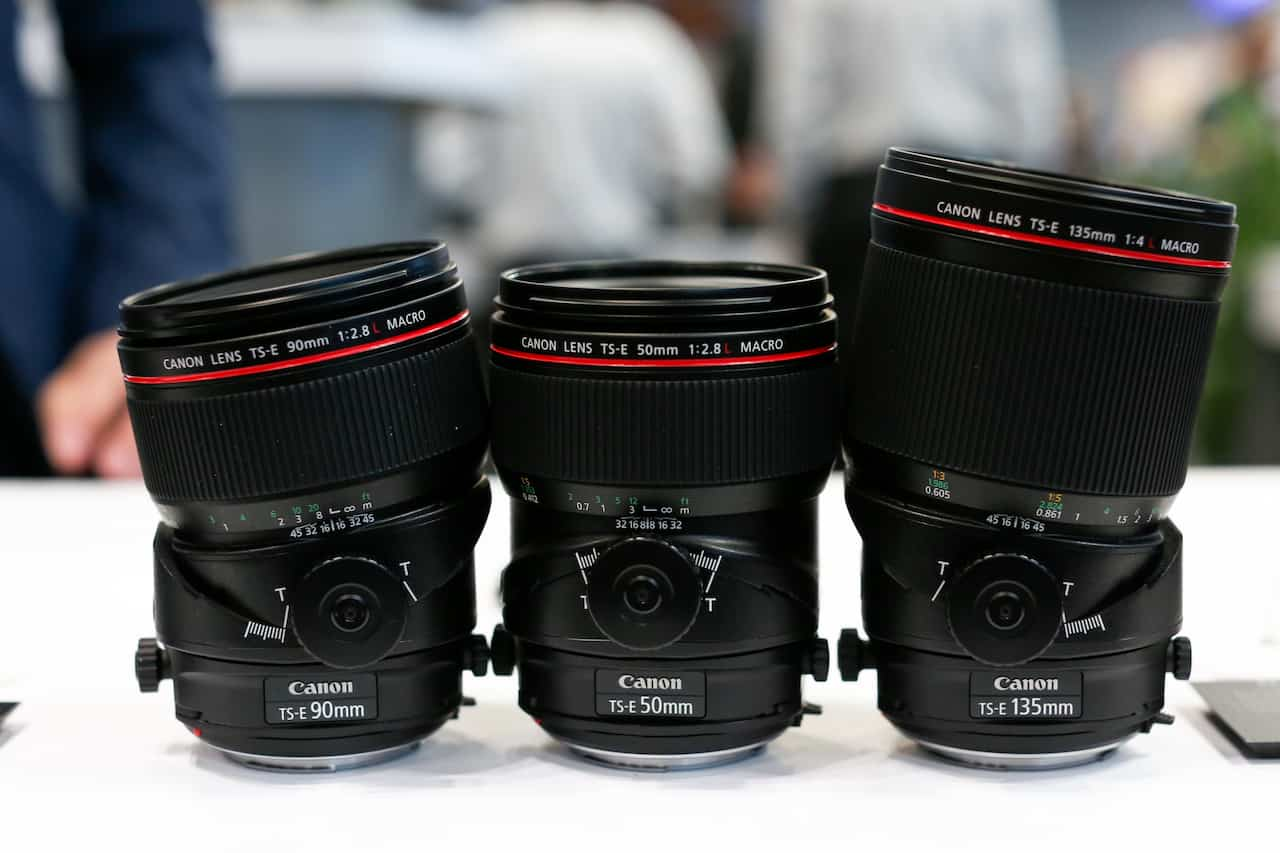
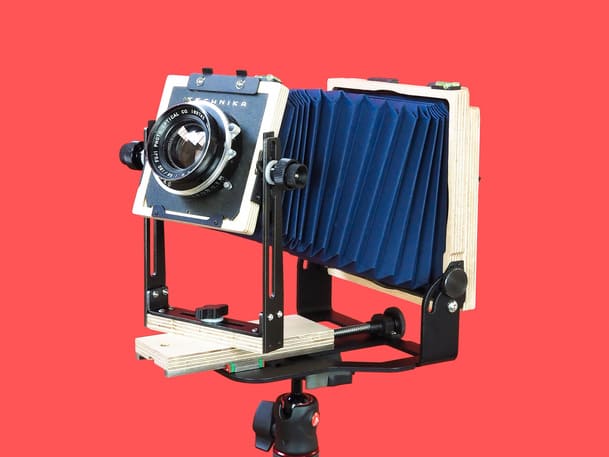
Old field cameras had the ability to tilt and shift the lens plane. This ability got lost due to size constraints. (This is not an old field camera, this is a modern Intrepid Mk 4.)
Tilt-shift lenses are used for architecture photography, portraits and other genres, but are probably most well known for taking photos of cities that end up look like a miniature world. The principle used for those shots is called the Scheimpflug principle, which says that if you tilt the lens plane relative the sensor plane, the focal plane also tilts so all 3 planes intersect in the same point. I never quite believed the Scheimpflug principle. It seemed so unintuitive. Having written the geometric diagram “engine” for this article, I thought I could use it to understand how the Scheimpflug principle really follows from just the geometric construction I used at the start of the article.
Another thing we have ignored in the article is that there is actually two ways to increase the focus area. The way we covered is to use a smaller aperture. The other way is to move the focal plane away from the sensor. The further away we set the focus, the bigger the focus area is going to be. In fact, all lenses have an “infinite focus distance”, a lens-specific distance from which onwards everything is in focus. So if you take photos of cities from either far away or high up, usually everything ends up being in focus.

An example photo taken from the Wikipedia article about Tilt-Shift photography. The quick transition from sharp to blurry tricks our brain into thinking the subject must be close and therefore tiny.
Tilt-shift lenses allow you to tilt the focal plane, making things go out of focus quicker than with a parallel focal plane, even when far away. Our brain associates this quick transition from sharp to blurry with the subject being very close to the lens (or rather, our eyes), which in turn would mean that the subject is tiny.