When using OpenGL (or WebGL), you have to do everything yourself, including font rendering and layouting. I thought: “Wouldn’t it be great if you could just reuse the browser’s layouting and font-rendering engine instead of heaving to reinvent the wheel?”. Yes, but there’s no API for that. Or is there?
TL;DR: You can use
<foreignObject>to embed normal HTML content in an SVG, encode that SVG as a data URL and draw it to a canvas usingdrawImage(). You need to inline all the styles, images and other resources as the canvas cannot make any network requests. Check out the demo here!
When you want to render strings to screen in OpenGL, it’s not uncommon to use [a bitmap font and distance field] (https://github.com/libgdx/libgdx/wiki/Distance-field-fonts) to place each individual symbol on a quad. You have to do everything yourself: Font sizing and smoothing, calculating the coordinates of each of these quads, when to line wrap and how to handle the baseline. If you want them, you will also need to implement support for ligatures yourself. Most of the time, being able to render text is only a precursor to having a 2D UI within your 3D OpenGL world, so you start implementing layout algorithms too. That seems not only unfun to me, but highly redundant. You could implement the UI in vanilla DOM and place the elements on top of the WebGL canvas, but that would start failing once you wanted to expand your 3D experience to WebVR. So I got creative!
As you can tell by the demo (and the presence of a TL;DR), there is a way to render DOM elements to a canvas – if you don’t mind bending over backwards. And once we have something on canvas, we can use it as a texture in WebGL and it would allow us to make use of all the things the browser has already implemented: Loading different fonts, rendering them, coloring them, text shadows, text decorations, weights, RTL, word-wrapping, etc etc etc. But be warned: The TL;DR might make you think that this blog is short. It’s not. Brace yourself.
Step 1: Foreign Objects
Let’s start with Arcane API #1: As far as I am aware, Foreign Objects are rarely used. They allow you to include a different XML namespace into an SVG and the SVG renderer will hand of the rendering to the renderer responsible for that namespace. (Danger: This is probably a gross oversimplification.) So by using <foreignObject> we can mix SVG graphics with, let’s say, a <button> and it will not only render, it will function and be interactive. Amazing!
<!doctype html>
<svg xmlns="http://www.w3.org/2000/svg" width="128" height="128">
  <circle cx="64" cy="64" r="64" style="stroke: blue; fill: none"></circle>
  <foreignObject width=“128" height=“128">
    <button>Ohai</button>
  </foreignObject>
</svg>
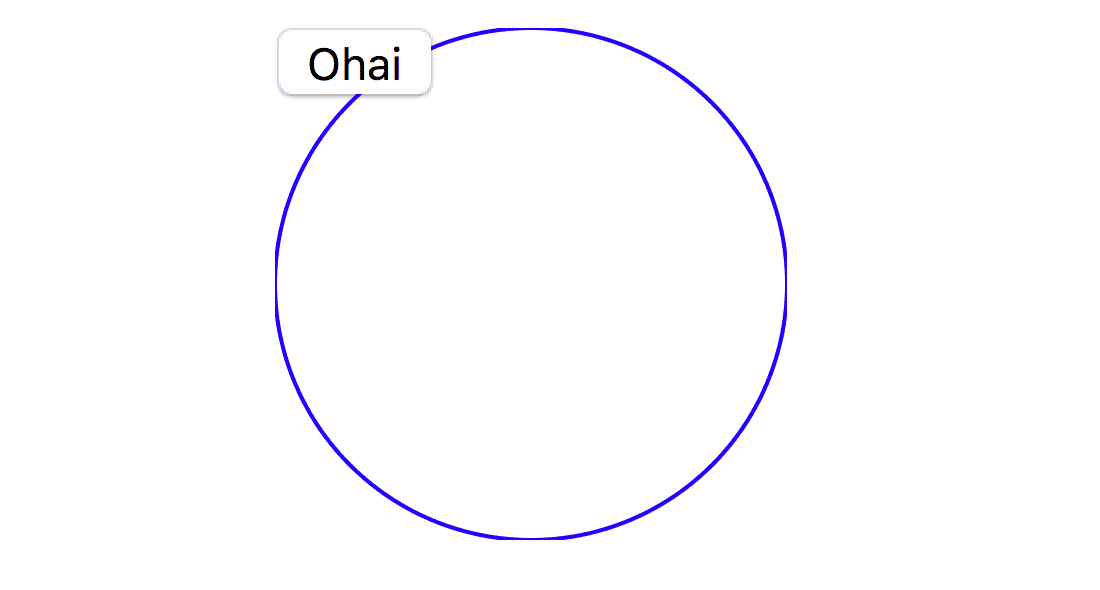
Foreign objects, just like all other SVG elements, need a size. Think of it as a canvas within a canvas. The dimensions you specify will be used similarly to what the viewport is for an HTML document. Since I am trying to generate textures consisting of DOM elements, I made both the SVG and Foreign Object have the same dimensions. If you open the markup above as an HTML file and open it in your browser, you’ll see an SVG circle with a button:
Step 2: Drawing it to canvas
WebGL doesn’t accept SVG objects as textures. It only takes canvases and image elements of raster images. But SVGs are kiiinda images, so there must be a way to do a conversion here, right? Yes, but it’s not as simple as you might expect. Here’s what we have to do:
- Serialize our SVG as markup in a string
- base64 encode that string to build a data URL (these
data:image/png;base64,XXXXX…things) - Use that data URL as a
srcfor a<img>element - Draw that
<img>element to the canvas usingdrawImage()
Let’s take these steps one by one.
Step 2.1: Serialization
When turning the DOM into a string, most people go and grab innerHTML on the parent element:
document.querySelector('svg').parentElement.innerHTML

`<svg xmlns="http://www.w3.org/2000/svg" width="128" height="128">
  <circle cx="64" cy="64" r="64" style="stroke: blue; fill: none"></circle>
  <foreignObject width="512" height="512">
    <button>Ohai</button>
  </foreignObject>
</svg>`
For most use-cases, that is good enough, but when trying to serialize SVGs with multiple XML namespaces, it’s not. Try it: The button won’t appear if you load the above markup as an SVG image. Enter Arcane API #2: XMLSerializer:
new XMLSerializer().serializeToString(document.querySelector('svg’))
`<svg xmlns="http://www.w3.org/2000/svg" width="128" height="128">
  <circle cx="64" cy="64" r="64" style="stroke: blue; fill: none"/>
  <foreignObject width="512" height="512">
    <button xmlns="http://www.w3.org/1999/xhtml">Ohai</button>
  </foreignObject>
</svg>`
As you can see, this serializer took care of adding the XHTML namespace of the children inside the <foreignObject>, and turns it into valid XML by turning <circle></circle> into a self-closing tag (i.e. <circle/>). And now, the button shows up.
Step 2.2: Base64 encoding
Step 2.2 Option a: atob
We have our SVG as a string. But for our data URL we need it in base64. Enter Arcane API #3: atob and btoa. I think these are some of the weirdest (and probably oldest) functions the platform has to offer. They are cryptically named and even after deciphering the names they don’t make a lot of sense. Additionally their accepted input data isn’t really sufficient nowadays: btoa stands for “binary to ascii” and encodes any binary strings (because back in the day, there were no ArrayBuffers and strings didn’t have to worry about Unicode) into safe ASCII by using base64. I don’t know why they didn’t call the function base64encode() or anything more descriptive, but now it’s burnt into the platform. Forever. But apart from that naming: The second you have any code points in your string above the 255 mark, this happens:

Aaaah, yes, my old friend Latin1 (actually, technically it’s Windows-1252). It’s been a while. For our undertaking that means: As long as our document is purely ASCII, we’ll be fine. The second we leave the ASCII range, things will probably stop working. And let’s be honest: We want emoji in our WebGL UIs!
Step 2.2 Option b: TextEncoder + base64js
Since the introduction of UTF-8 and ArrayBuffers, the platform also offers TextEncoder and TextDecoder. We only need the TextEncoder as we want to encode a string into a Uint8Array using UTF-8:
new TextEncoder().encode('Ohai UTF-8 🤡')
Uint8Array(15) [79, 104, 97, 105, 32, 85, 84, 70, 45, 56, 32, 240, 159, 164, 161]
Sadly, bota doesn’t handle ArrayBuffer, so we need to find another way of base64 encoding an array of bytes. Honestly, I was shocked to find that there’s nothing on the platform – for now I’ll resort to Jameson Little’s base64js, which polyfills that functionality.
const base64encodedSVG = base64js.fromByteArray(new TextEncoder().encode(serializedXML));
Note: Edge doesn’t have support for
TextEncoderyet. So for the main demo I included a polyfill forTextEncoder. The other demos don’t include that polyfill and won’t work in Edge.
We are almost done. Don’t be alarmed, the last two steps are actually rather short!
2.3: Putting it in an image
const img = document.createElement('img');
img.src = 'data:image/svg+xml;base64,' + base64encodedSVG;
img.onload = _ => {
  // Continue here…
}
Note the onload function we are registering. Images are decoded asynchronously, so if we didn’t put our code in the unload handler, it would probably try to use an image that has not have been decoded yet.
2.4 Drawing it to canvas
Drawing an image to canvas is surprisingly easy and works the same with any image, even our weird base64-encoded SVG:
const c = document.querySelector('canvas');
const ctx = c.getContext('2d');
ctx.drawImage(img, 0, 0);
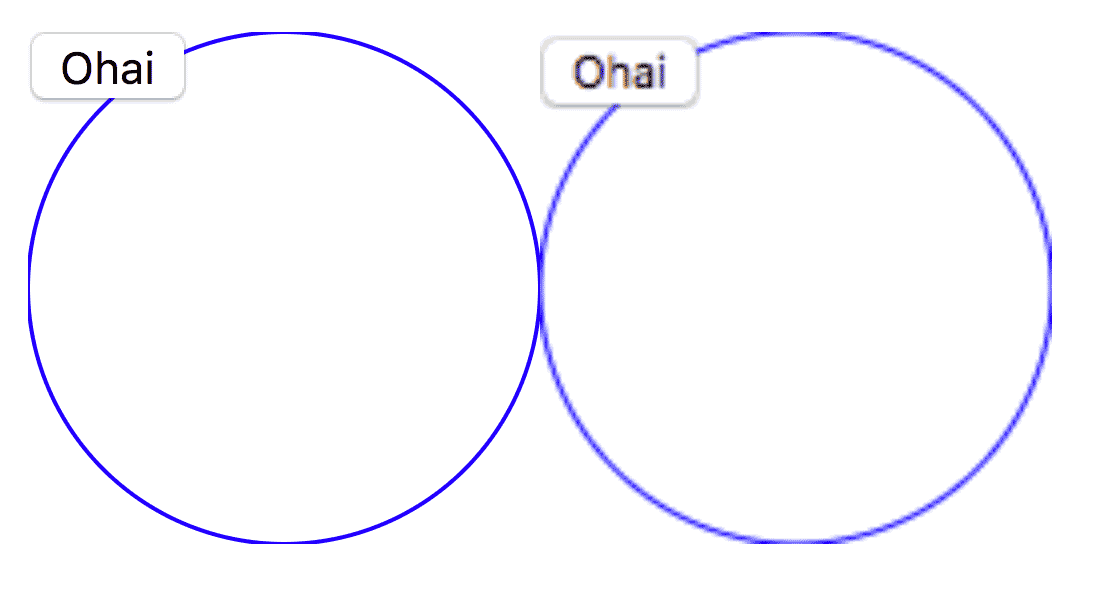
Take a look for yourself.
Note: Don’t mind the blurriness. The blur stems from the fact that I have zoomed in and SVGs handle zooming much better and rasterized images (duh?). Additionally, my canvas is not taking
window.devicePixelRatiointo consideration, which is necessary for Retina displays. Since we are working towards a WebGL texture here, we will be working with fixed dimensions anyways.
We got ourselves a way to render DOM elements to canvas. Hooray! This technique works in Chrome, Edge, Firefox and Safari! In contrast to Chrome and Firefox, however, Safari taints the canvas if you draw an SVG containing a <foreignObject> to it. That means that – at the time of writing – it is not usable as a WebGL texture in Safari.
We are done here. Off you go. … except, not quite:
Step 3: Styles and resources
Thinking I was done, I went ahead and tried using this technique to render some styled text as a texture for a WebGL experiment:
<style>
  #container {
    width: 100%;
    height: 100%;
    background-color: bisque;
    display: flex;
    flex-direction: column;
    justify-content: center;
    align-items: center;
    color: red;
    font-family: monospace;
  }
</style>
<svg xmlns="http://www.w3.org/2000/svg" width=128 height=128>
  <foreignObject width=128 height=128>
    <div id="container">
      Ohai DOM!
      <img src="uvgrid_small.jpg" width=50>
    </div>
  </foreignObject>
</svg>
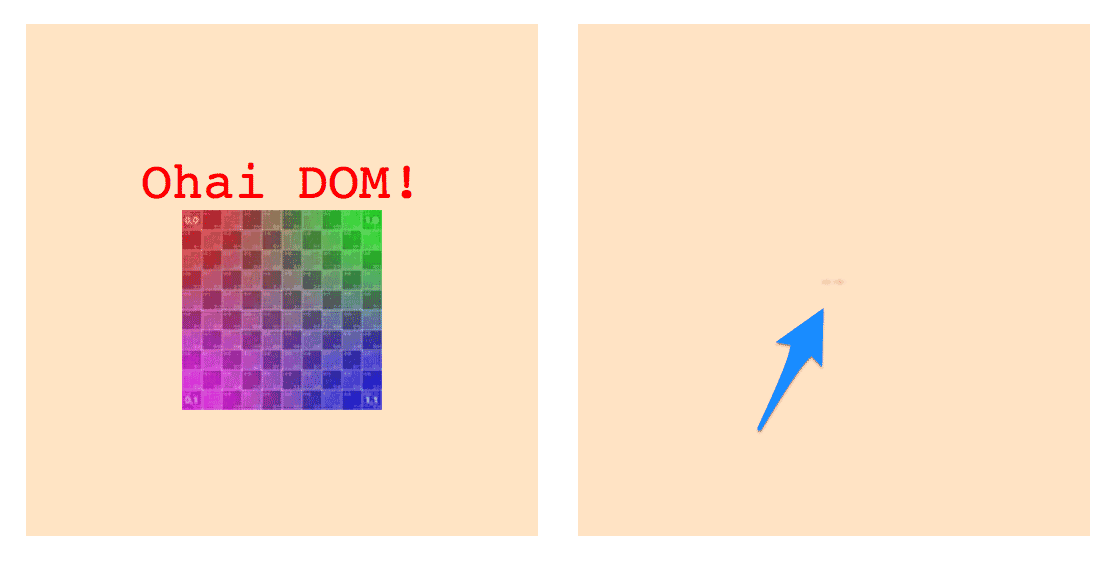
Turns out I didn’t grasp the isolated nature of our SVG in its entirety. Take a look:
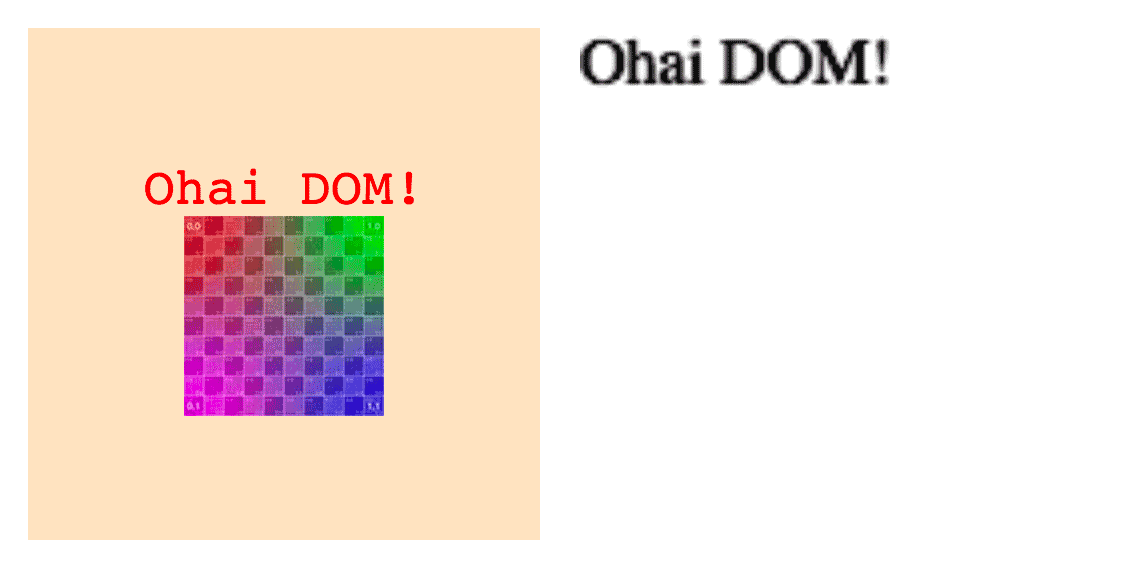
Not only is all styling gone, but the image is a no-show. What’s going on here?
Step 3.1: Styles
Once you think about it, it makes sense that there’s no styling. We are basically creating a separate SVG document (in form of a data URL) and our styling is well outside that document. So let’s make it available by cloning all our styles and moving them into the SVG element.
Array.from(document.querySelectorAll('style'))
  .forEach(styleTag => {
    foo.appendChild(styleTag.cloneNode(true));
  });
A thing to keep in mind is that some UAs apply different default stylesheets for SVGs than they do for HTML. So if you leave any properties unspecified, these differences in the UA stylesheet can show. Case in point: font-size in Safari:
Safari’s default font size in an SVG context seems to be much smaller than for HTML. This is easily fixed by explicitly specifying font-size in our stylesheet, but it’s yet another bump in the road that is interop.
But let’s talk about the elephant in the room: The image is still missing. What’s up with that?
Step 3.2: Resources
It turns out that for security reasons, the SVG renderer the CanvasRenderingContext2D uses has no access to the network. So while the <img> element is actually there, it’s just empty as the URL could not be resolved to a resource. But we can do something about this and it involves, you might have guess it, data URLs! As long as the image is either from the same origin or from another origin with CORS headers set, we can take the image and draw it to a canvas to convert it to a brand new data URL.
function waitForLoad(img) {
  return new Promise(resolve => {
    if(img.complete) resolve(img);
    img.onload = _ => resolve(img);
  });
}

function img2dataURL(img) {
  // Wait for image to be loaded
  return waitForLoad(img)
    .then(img => {
      // Paint it to a canvas
      const canvas = document.createElement('canvas');
      canvas.width = img.naturalWidth;
      canvas.height = img.naturalHeight;
      const ctx = canvas.getContext('2d');
      ctx.drawImage(img, 0, 0);
      // and convert that canvas to a data URL and, once again,
      // wait for it to be decoded and loaded.
      img.src = canvas.toDataURL();
      return waitForLoad(img);
    });
}

const dataUrlImages =
  Array.from(svg.querySelectorAll('img'))
    .map(imgTag => img2dataURL(imgTag));

Promise.all(dataUrlImages)
.then(_ => {
  // remainder of code
});
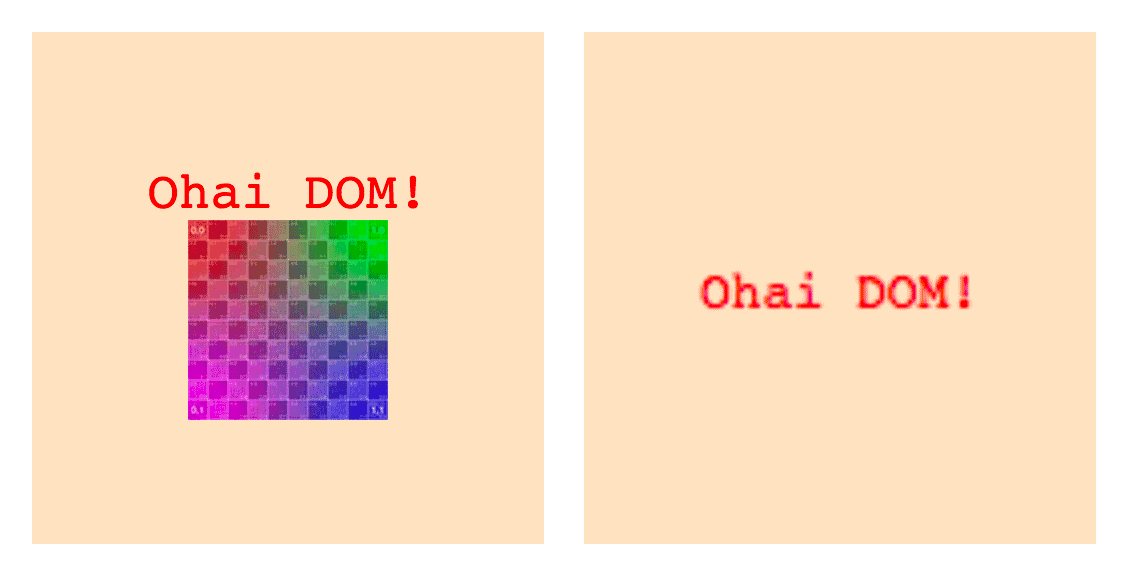
This is probably the biggest chunk of code in this blog post, and yet it doesn’t really introduce any new concepts. We grab all the <img> in our SVG and pass them to img2dataURL(), which replace the current src of the <img> with a data URL. The function returns a promise that resolves when all the work is done.
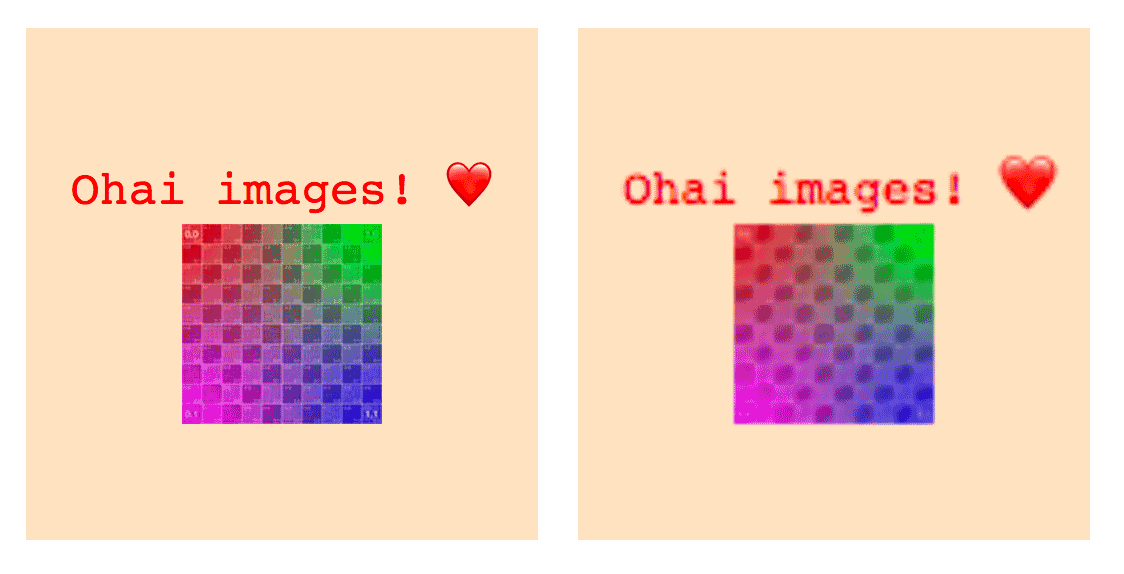
Got ’em! Live version here.
What about <link> stylesheets?
Now that we know that we don’t have any network access when rendering our SVG, we should also take a look at <link> tags that reference stylesheets. In contrast to <style> tags we can’t just clone them. The obvious solution is to just fetch() the stylesheet and to inline it. But there is another way – time for arcane API #4: The sheet property. Admittedly, it’s not really arcane, but it’s probably a lesser known feature: Both <style> tags and <link rel="stylesheet"> tags have a sheet property with which you can iterate over parsed versions of all the rules in the stylesheet. So we can just grab all our <style> and <link> tags and put them into one big <style> element without doing another network request:
const styleTag = document.createElement('style');
Array.from(
  document.querySelectorAll('style, link[rel=stylesheet]')
)
  .forEach(linkTag => {
    styleTag.innerText =
      Array.from(linkTag.sheet.cssRules)
        .reduce((str, rule) => str + rule.cssText, '');
  });
svg.appendChild(styleTag);
Keep in mind that this approach won’t work if you link to cross-origin stylesheets (like web fonts!).
What about <iframe>?
This is left as an exercise for the reader :P
(It’s probably possible. Likely annoying. I was too lazy.)
Bonus round: State
We are looking pretty good! We have all we need to solve my original WebGL problem. But here’s an additional tripwire: All internal state of the DOM elements that is not reflected to DOM will be lost. So if you have input elements like sliders or text fields you have to do some extra work to make them render in the same state they were in. In the context of input fields you could do something like the following.
Array.from(svg.querySelectorAll('input'))
  .forEach(inputElem => {
    // Boolean attributes
    ['checked', 'disabled']
      .forEach(attrName => {
        if(inputElem[attrName]) inputElem.setAttribute(attrName, '');
          else inputElem.removeAttribute(attrName, '');
      });
    // Non-boolean attributes
    ['max', 'min', 'placeholder', 'step', 'value']
      .forEach(attrName => {
        inputElem.setAttribute(attrName, inputElem[attrName]);
      });
});
This is quite fun to play with.
Performance
This approach is not cheap. At all. For the last demo, going from SVG to rendered canvas takes 10ms on the new 2017 MacBook Pro, and 62ms on a Pixel. Considering the frame budget for 60fps is 16ms, you need to be extremely careful. If you want to use it right now, I’d suggest breaking it up into smaller chunks of work using requestIdleCallback() to make sure the main thread is not blocked for too long. Luckily, there is a spec to expose <canvas> in workers called OffscreenCanvas, that’d allow you to do all that expensive work in a different thread, keeping your main thread nice and responsive. OffscreenCanvas is available in Firefox and being worked on in Chrome.
Recap
So there you have it. Quite a ride, isn’t it? It’s nothing that should be use lightheartedly and the number of hoops you have to jump through to render some of your own DOM to a canvas is somewhat shocking. It’s cool that it works, but the platform could definitely do better here. If you have any ideas, let me know!